| [](https://wiki.tmdmguild.com/uploads/images/gallery/2025-02/image.png) | - [Method Guide](https://www.method.gg/guides#boss-guides) - [Mythic Trap Guide](https://www.mythictrap.com/en) - [Icy Veins Guide](https://www.icy-veins.com/wow/war-within-dungeons-guide) - [Wowhead Guide](https://www.wowhead.com/guides/raids) |
| [](https://wiki.tmdmguild.com/uploads/images/gallery/2024-09/1naimage.png) | - [Method Guide](https://www.method.gg/guides/nerubar-palace/ulgrax-the-devourer-heroic) - [Mythic Trap Guide](https://www.mythictrap.com/en/nerubar-palace/ulgrax-the-devourer/mythic) - Icy Veins Guide - [Wowhead Guide](https://www.wowhead.com/guide/the-war-within/raids/nerub-ar-palace/ulgrax-the-devourer-boss-strategy) |
| [](https://wiki.tmdmguild.com/uploads/images/gallery/2024-09/9SMimage.png) | - [Method Guide](https://www.method.gg/guides/nerubar-palace/the-bloodbound-horror-heroic) - [Mythic Trap Guide](https://www.mythictrap.com/en/nerubar-palace/bloodbound-horror/mythic) - Icy Veins Guide - [Wowhead Guide](https://www.wowhead.com/guide/the-war-within/raids/nerub-ar-palace/the-bloodbound-horror-boss-strategy) |
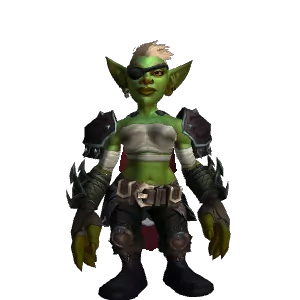
| [](https://wiki.tmdmguild.com/uploads/images/gallery/2024-09/RdNimage.png) | - [Method Guide](https://www.method.gg/guides/nerubar-palace/sikran-captain-of-the-sureki-heroic) - [Mythic Trap Guide](https://www.mythictrap.com/en/nerubar-palace/sikran-captain-of-the-sureki/mythic) - Icy Veins Guide - [Wowhead Guide](https://www.wowhead.com/guide/the-war-within/raids/nerub-ar-palace/sikran-captain-of-the-sureki-boss-strategy) |
| [](https://wiki.tmdmguild.com/uploads/images/gallery/2024-09/Hs1image.png) | - [Method Guide](https://www.method.gg/guides/nerubar-palace/rashanan-heroic) - [Mythic Trap Guide](https://www.mythictrap.com/en/nerubar-palace/rashanan/mythic) - Icy Veins Guide - [Wowhead Guide](https://www.wowhead.com/guide/the-war-within/raids/nerub-ar-palace/rashanan-boss-strategy) |
| [](https://wiki.tmdmguild.com/uploads/images/gallery/2024-09/1ftimage.png) | - [Method Guide](https://www.method.gg/guides/nerubar-palace/broodtwister-ovinax-heroic) - [Mythic Trap Guide](https://www.mythictrap.com/en/nerubar-palace/broodtwister-ovinax/mythic) - Icy Veins Guide - [Wowhead Guide](https://www.wowhead.com/guide/the-war-within/raids/nerub-ar-palace/broodtwister-ovinax-boss-strategy) |
| [](https://wiki.tmdmguild.com/uploads/images/gallery/2024-09/9fQimage.png) | - [Method Guide](https://www.method.gg/guides/nerubar-palace/nexus-princess-kyveza-heroic) - [Mythic Trap Guide](https://www.mythictrap.com/en/nerubar-palace/nexus-princess-kyveza/mythic) - Icy Veins Guide - [Wowhead Guide](https://www.wowhead.com/guide/the-war-within/raids/nerub-ar-palace/nexus-princess-kyveza-boss-strategy) |
| [](https://wiki.tmdmguild.com/uploads/images/gallery/2024-09/8VFimage.png) | [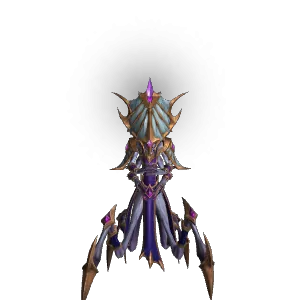](https://wiki.tmdmguild.com/uploads/images/gallery/2024-09/c5Gimage.png) | - Method Guide - [Mythic Trap Guide](https://www.mythictrap.com/en/nerubar-palace/silken-court/mythic) - Icy Veins Guide - [Wowhead Guide](https://www.wowhead.com/guide/the-war-within/raids/nerub-ar-palace/the-silken-court-boss-strategy) |
| [](https://wiki.tmdmguild.com/uploads/images/gallery/2024-09/8hfimage.png) | - Method Guide - [Mythic Trap Guide](https://www.mythictrap.com/en/nerubar-palace/queen-ansurek) - Icy Veins Guide - [Wowhead Guide](https://www.wowhead.com/guide/the-war-within/raids/nerub-ar-palace/queen-ansurek-boss-strategy) |
| [](https://wiki.tmdmguild.com/uploads/images/gallery/2025-02/4sVimage.png) | - [Method Guide](https://www.method.gg/guides#boss-guides) - [Mythic Trap Guide](https://www.mythictrap.com/en) - [Icy Veins Guide](https://www.icy-veins.com/wow/war-within-dungeons-guide) - [Wowhead Guide](https://www.wowhead.com/guides/raids) |
| [](https://wiki.tmdmguild.com/uploads/images/gallery/2025-02/BVDimage.png) [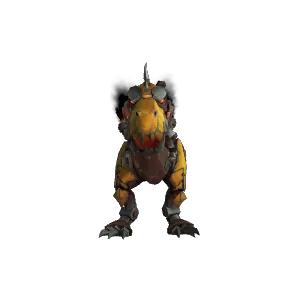](https://wiki.tmdmguild.com/uploads/images/gallery/2025-02/Isximage.png) | - [Method Guide](https://www.method.gg/guides#boss-guides) - [Mythic Trap Guide](https://www.mythictrap.com/en) - [Icy Veins Guide](https://www.icy-veins.com/wow/war-within-dungeons-guide) - [Wowhead Guide](https://www.wowhead.com/guides/raids) |
| [](https://wiki.tmdmguild.com/uploads/images/gallery/2025-02/MAoimage.png) | - [Method Guide](https://www.method.gg/guides#boss-guides) - [Mythic Trap Guide](https://www.mythictrap.com/en) - [Icy Veins Guide](https://www.icy-veins.com/wow/war-within-dungeons-guide) - [Wowhead Guide](https://www.wowhead.com/guides/raids) |
| [](https://wiki.tmdmguild.com/uploads/images/gallery/2025-02/ZdEimage.png) | - [Method Guide](https://www.method.gg/guides#boss-guides) - [Mythic Trap Guide](https://www.mythictrap.com/en) - [Icy Veins Guide](https://www.icy-veins.com/wow/war-within-dungeons-guide) - [Wowhead Guide](https://www.wowhead.com/guides/raids) |
| [](https://wiki.tmdmguild.com/uploads/images/gallery/2025-02/Z7Ximage.png) | - [Method Guide](https://www.method.gg/guides#boss-guides) - [Mythic Trap Guide](https://www.mythictrap.com/en) - [Icy Veins Guide](https://www.icy-veins.com/wow/war-within-dungeons-guide) - [Wowhead Guide](https://www.wowhead.com/guides/raids) |
| [](https://wiki.tmdmguild.com/uploads/images/gallery/2025-02/WXbimage.png) | - [Method Guide](https://www.method.gg/guides#boss-guides) - [Mythic Trap Guide](https://www.mythictrap.com/en) - [Icy Veins Guide](https://www.icy-veins.com/wow/war-within-dungeons-guide) - [Wowhead Guide](https://www.wowhead.com/guides/raids) |
| [](https://wiki.tmdmguild.com/uploads/images/gallery/2025-02/Noximage.png) | - [Method Guide](https://www.method.gg/guides#boss-guides) - [Mythic Trap Guide](https://www.mythictrap.com/en) - [Icy Veins Guide](https://www.icy-veins.com/wow/war-within-dungeons-guide) - [Wowhead Guide](https://www.wowhead.com/guides/raids) |
| [](https://wiki.tmdmguild.com/uploads/images/gallery/2025-02/OV2image.png) | - [Method Guide](https://www.method.gg/guides#boss-guides) - [Mythic Trap Guide](https://www.mythictrap.com/en) - [Icy Veins Guide](https://www.icy-veins.com/wow/war-within-dungeons-guide) - [Wowhead Guide](https://www.wowhead.com/guides/raids) |
| [](https://wiki.tmdmguild.com/uploads/images/gallery/2025-08/plexussentinel.png) | - [Method Guide](https://www.method.gg/guides/manaforge-omega/plexus-sentinel) - [Mythic Trap Guide](https://www.mythictrap.com/en/manaforge-omega/plexus-sentinel) - [Wowhead Guide](https://www.wowhead.com/npc=233814/plexus-sentinel) |
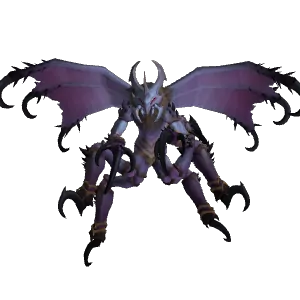
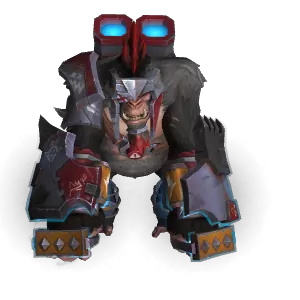
| [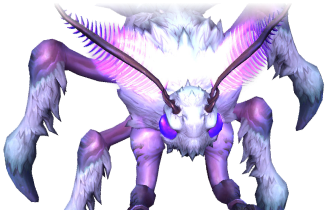](https://wiki.tmdmguild.com/uploads/images/gallery/2025-08/loomithar.png) | - [Method Guide](https://www.method.gg/guides/manaforge-omega/loomithar) - [Mythic Trap Guide](https://www.mythictrap.com/en/manaforge-omega/loomithar/mythic) - [Wowhead Guide](https://www.wowhead.com/npc=233815/loomithar) |
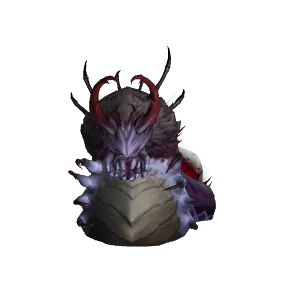
| [](https://wiki.tmdmguild.com/uploads/images/gallery/2025-08/soulbindernaazindhri.png) | - [Method Guide](https://www.method.gg/guides/manaforge-omega/soulbinder-naazindhri-heroic) - [Mythic Trap Guide](https://www.mythictrap.com/en/manaforge-omega/soulbinder-naazindhri) - [Wowhead Guide](https://www.wowhead.com/npc=233816/soulbinder-naazindhri) |
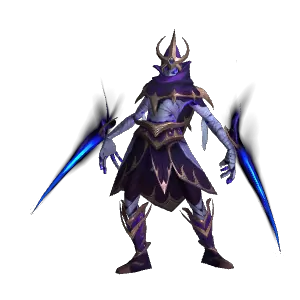
| [](https://wiki.tmdmguild.com/uploads/images/gallery/2025-08/forgeweaveraraz.png) | - [Method Guide](https://www.method.gg/guides/manaforge-omega/forgeweaver-araz-heroic) - [Mythic Trap Guide](https://www.mythictrap.com/en/manaforge-omega/forgeweaver-araz) - [Wowhead Guide](https://www.wowhead.com/npc=247989/forgeweaver-araz) |
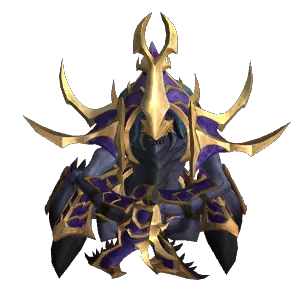
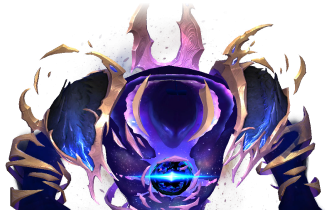
| [](https://wiki.tmdmguild.com/uploads/images/gallery/2025-09/nexuskingsalhadaar.png) | - [Method Guide](https://www.method.gg/guides/manaforge-omega/nexus-king-salhadaar-heroic) - [Mythic Trap Guide](https://www.mythictrap.com/en/manaforge-omega/nexus-king-salhadaar/mythic) - [Wowhead Guide](https://www.wowhead.com/guide/the-war-within/raids/manaforge-omega/nexusking-salhadaar-boss-strategy-abilities) |
| [](https://wiki.tmdmguild.com/uploads/images/gallery/2025-10/yOlimage.png) | - Method Guide - Mythic Trap Guide - Wowhead Guide |